
Time for the quickest, easiest, slap dash way to make bunting. If you've been looking for how to make quick and easy bunting, look no further than my cheat sheet below! And there are LOTS of photos in this post!
If you're like me and without any spare time in the day and want to decorate the easy & simple way... here are my tips on how to get something bright and wonderful up around your party in a flash, instead of still stuck on the sewing table. Have you got a serger or an overlocker, or thinking about getting one? This is for you!

Overlocked Bunting is connected with just the serger thread, so you don't need ribbon or bias binding to sew it to, but it looks less 'finished'... however it doesn't take as long. I was googling easy bunting a few years ago, so can't remember if I just simplified someone else's tutorial, but just checked now and most tutorials show you with a ribbon on 'top' or doublesided gorgeous neat (but time consuming) flags.

What you need:
Something for a template (cardboard, paper or whatever!)
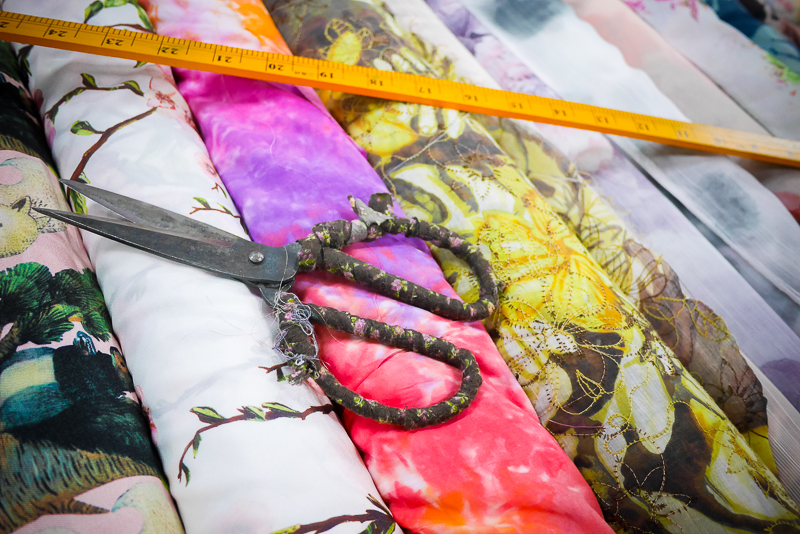
Fabrics, could be stash fabric, scrap fabric but a variety works best in my opinion. And less than half a metre of each.
Scissors
Threaded Sewing Machine - Overlocker is best for easy & quick bunting

1. Make a template for your triangles. Sometimes I've made small flags, today I'm making big ones!
2. Select your fabrics! I've bought some drill, some other cotton stuff and some stuff from the stash here today... with the colour scheme of ORANGE! For my boy's birthday!
3. Cut a triangle out of cardboard or butchers paper (as I've used here) to the size that you like. We're going gigantic today for the party! After I've cut a few using the paper template, I just use the fabric pieces like below:


4. Use your triangle as a pattern and cut out as many flags as you'd like. Today I'm making bunting for our entire outside undercover area, so I'll try and make as many metres as I can. But happy looking bunting need only have 2 metres of assorted flags!


5. Once you've cut them all out, sort them into piles of flags, ready for your overlocking sewing production line.

6. Using an overlocker, I sew about 30cms of extra threads. You know when the overlocker creates 'chains' of stitches? I use that to tie the ends of the bunting to things. So over a foot, or a ruler length is usually enough to tie around a pole or a beam.

7. Place your first bunting flag right side up, with the top bit ready for the overlocker to suck & cut up, and the tip away from the machine... sew!

8. Before you finish overlocking the first flag, add the second bunting flag (of a different pattern) loosely lapped under the first flag, so that the overlocker grabs them close together and the fabric is serged together at the ends of the triangle. Repeat for as long as you like or as many bunting pieces you'd like in a row! I make about 8 or 9 flags together usually, but that's my preference!
9. When you add your final flag, make sure you serge an extra foot/30cms so you get another chain of stitches at the end. With long chains of stitches at each ends, you know how have space to tie each end! Sometimes, if I'm pinning these to a wall (like I do at work), I make longer bunting, and pin them in 'smiles' or upside down semi circles, to make them more garland like. But see here for the extra 'chain' at the end for tying!

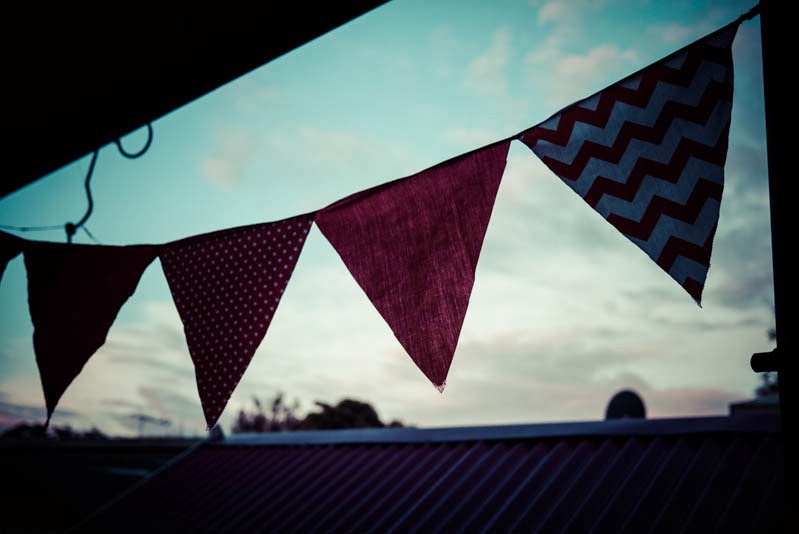
Viola! Hang them up wherever! YAY! Baby Darling's First Birthday was all orange!


I've never done a tutorial before, so please let me know if I've left some bits off, or it's too silly to understand! As you can see above, I don't worry about 'right' way or 'wrong' way of fabric... it's a lot more simple and slap dash to put together... but I do tend to hang them right way out, however I just don't think people care that much when bunting is looking sweet and blowing in the breeze!
Hope you had a great weekend! xoxo


Newer machines aren't quite the workhorses that their predecessors were, but if you're taking lessons or classes that require you to drag your machine around, Find more
ReplyDelete